
- Basement Cellar Damp Proofing
What are the Likely Causes of Damp in a Cellar? In the UK, the average home will usually deal with a large amount of wet weather throughout the year, which ultimately increases the risk of damp problems. Due to the high amounts of rain that we get, you are probably not surprised to hear that …
- read more…  Damp on chimney breast
What Can Cause Damp Patches on a Chimney Breast? Whether you have a traditional log burning fire or your fireplace is decorative only, it’s never a good sign when you begin to see damp patches and staining appearing on the chimney breast in your home. While it might be tempting to simply paint over the …
- read more… How to damp proof a house
How to Damp Proof an Older House Due to the wet climate that we get in the UK, damp is often a common issue faced by British homeowners. However, problems that are caused by excess moisture in the home can lead to some serious structural problems. Older homes are often at a higher risk of …
- read more…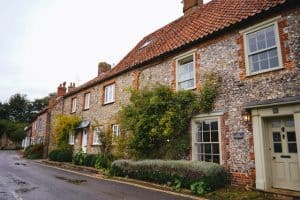 Chemical damp proof treatment
How Effective are Chemical Damp Proof Treatments? Damp is a common issue in UK homes due to the amount of wet weather that we get throughout the year. This is especially true if you live in an older home where the risk of damp is even higher due to the lack of damp-proofing treatments compared …
- read more… Damp and timber report
How Useful is a Damp and Timber Report? If you own an older property, the words ‘damp and timber decay’ probably send shudders down your spine. Discovering damp issues in your property or finding out that the woodwork has been seriously damaged by rot or an insect infestation is never good news for any homeowner. …
- read more… Independent damp specialist
Why Hiring a Damp Specialist is a Smart Investment If you live in the UK, you know that it’s not exactly the driest country in the world. We get quite a lot of wet weather, even during the summer months, so it’s no surprise to most to hear that the average UK home will typically …
- read more…- How to treat wet rot in timber
How to Treat Wet Rot in Timber Wet rot occurs when timber within a property becomes damp and moist, and can have a range of effects on the building from manageable to major loss of the structural integrity of the home. When caught early on, wet rot can be easier to repair than you might …
- read more… 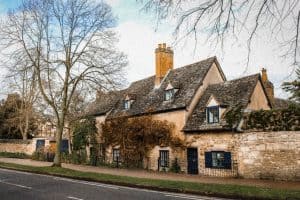 How to treat dry rot in timber
What Causes Dry Rot in Timber? Timber rot is an issue that no homeowner will want to deal with, especially when it comes to dry rot. Dry rot is often the hardest issue to deal with when it comes to timber problems and decay since once a dry rot outbreak has begun eating away at …
- read more… How to Fix Rising Damp
No homeowner wants to deal with damp problems in their property, when water affects the walls and leads to wet patches that can ultimately cause mould and further problems like wet rot to the timber and structural issues. Rising damp is one of the most serious damp problems to occur in a home since it …
- read more… Rising damp
What is Rising Damp? Nobody likes to know that there are damp issues in their home, and rising damp can often be one of the most problematic. Rising damp is caused by moisture that is present in your walls as a result of water collecting in the ground underneath or next to the walls, where …
- read more…